Thursday

Spoonflower

The secret is out that spoonflower now offers wallpaper that you can design yourself and that's easily removable.  I think it's a brilliant idea.  I would love to try this somewhere in my home.  Maybe on a focal wall?  Have any of you tried it yet?

Here are just a few bold patterns that I'm loving that would be great in small doses.  I'm on a black and white kick so you'll notice a theme going on here.


I would love to try my hand at designing my own.  I'll let you know how it goes if I attempt it.  

Friday

IKEA highchair hack

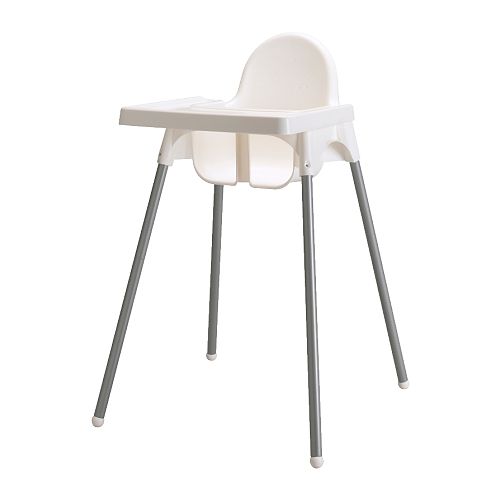
This is such a simple IKEA hack.  All you need is a little spraypaint and a vinyl decal.  I love the look of the IKEA antilop highchair.  It has simple clean lines that doesn't scream baby.  It will fit in with most decor as much as a highchair can fit in and at $25 the price is perfect.  However, I wasn't too crazy about the gray legs and decided I'd glam it up a bit for the princess.

Here it is originally.


It comes unassembled like most everything at IKEA but it's super easy to put together.  You just click the legs in place and you're done, but before I did that I gave the legs a quick spray paint makeover.


I wanted to keep the balls at the bottom white so I just taped those off with some frog tape.


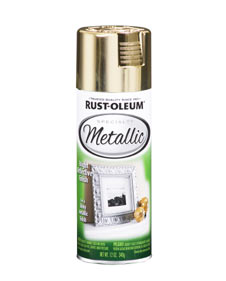
Then I gave them a few coats of my favorite gold spray paint.  


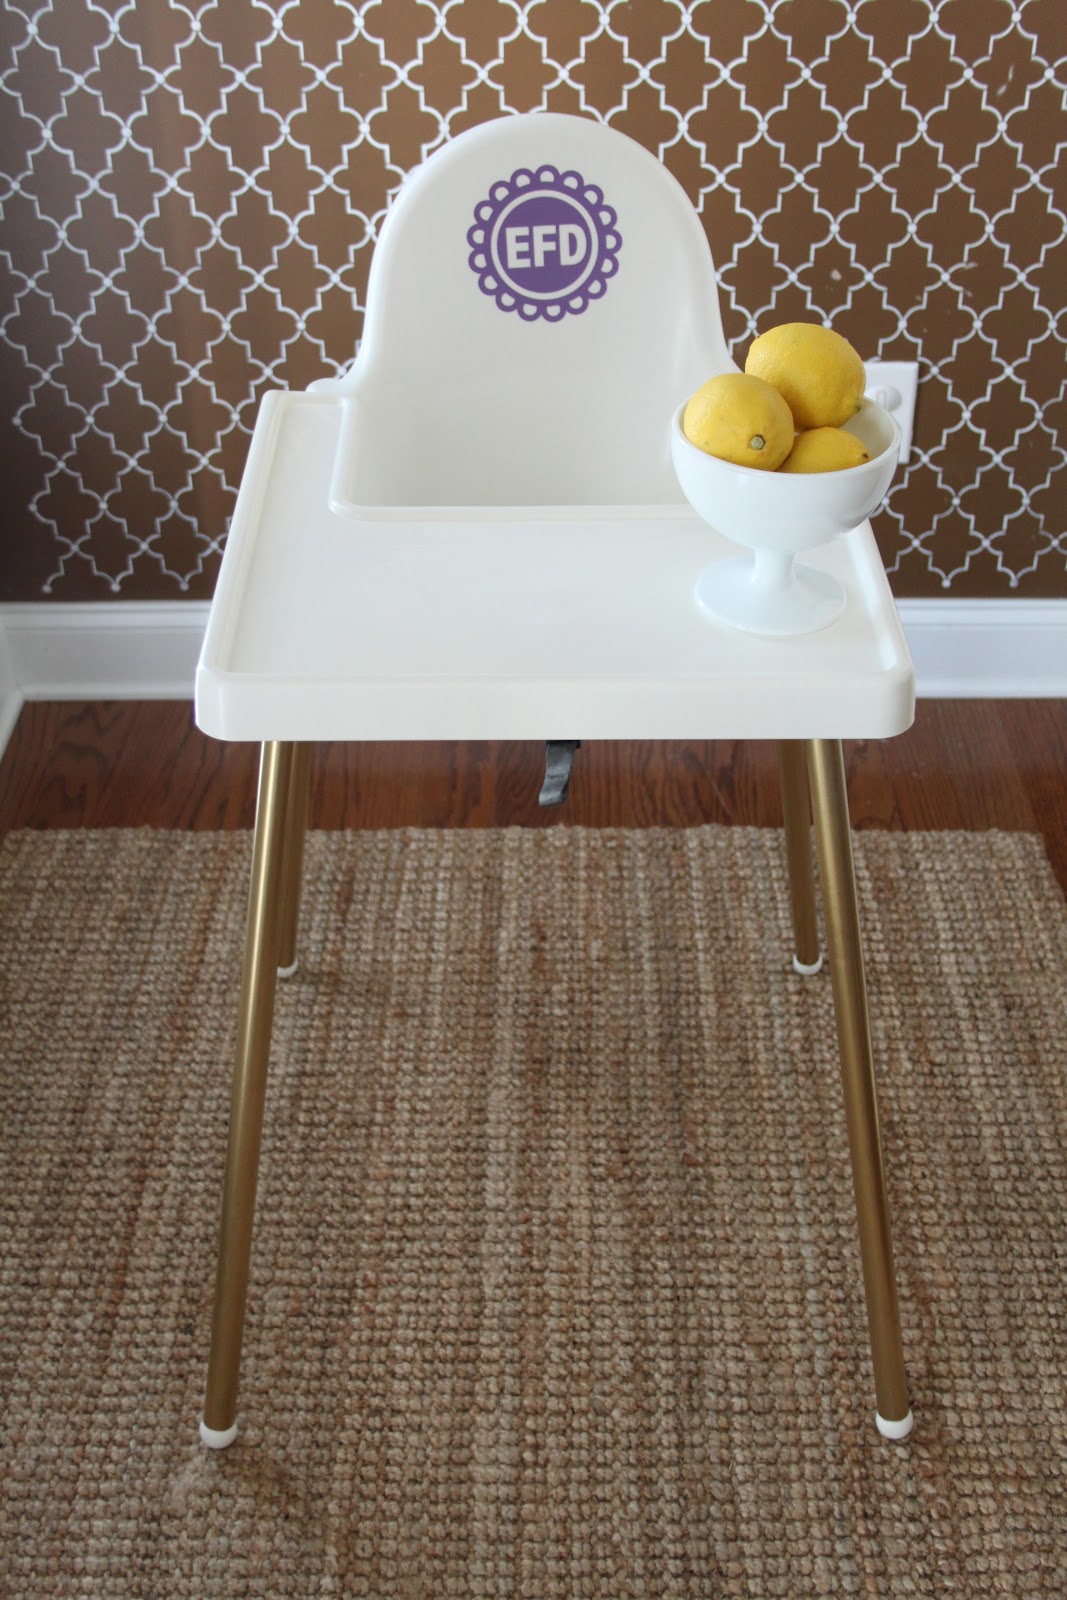
Then I just whipped up a quick vinyl decal with my silohuette machine.  If you don't have a silohuette you can find lots of great decals on Etsy for a few dollars.


I'm really happy with how it turned out and my daughter loves it too.  You can use it with or without the tray.  If you remove the tray it will slide right up to the table which is kind of neat and I love that it doesn't look super highchair-y.

Done any IKEA hacks lately?

Thursday

A Christmas Tour

This year we kept things pretty simple with our Christmas decor.  I used things we already had or made things like our stockings from materials we already had on hand.  

I went with a silver and gold theme for the tree this year.  If you look closely there are less ornaments at the bottom of the tree, hmm...wonder how that happened?  I did put non breakable ornaments on the bottom half of the tree in case little fingers decided to grab them, which as you can see they did.


For my wrapping this year I decided to keep it simple with some fun leopard print paper from Hobby Lobby found in the Christmas wrapping section.  The ones with the pink bows are for my daughter.  I'm pretty sure those sparkly things will be her favorite part of the whole morning.


Every year we add a new ornament to the tree.  I loved this Lenox ornament when I saw it.  I love that it's a manger scene and that it symbolizes the true meaning of Christmas.  I was also pretty happy that it was on sale for $4.50 at Ross.  It normally retails for around $30 so it was a great deal.


I'm linking up to the nester's tour of homes.

Wednesday

DIY stockings

Since we added a new member to the family this year, that also meant we needed to add another stocking to the mantel.  I wasn't totally in love with the stockings I've used the past few years and I only  had two of them.  I looked into buying some but they were a little pricey especially when I knew they'd be pretty easy to make.  I started out with some fabric I had in my stash.  I got it from Garden Ridge a while ago, I think it was $5 for 2.5 yards.  It's a nice heavy material and the pattern is textured, almost like a chenille.  Side note, if you are looking for upholstery material check Garden Ridge, it's hit or miss  but I've found some great fabric there.  Onto the stockings.  I traced the stockings I already had to get the basic shape.  You will trace one side going one way and the other going the opposite way so they will match up when it's time to sew.  I just used some chalk to trace mine so I wouldn't be left with any marks.  


I did the same for the lining, you could make this really easy by not lining them but I chose to go with the lining.  See how they are facing opposite directions?


Here they are all matched up and ready to be sewed.  Pretty easy, put the right sides together, sew around the edges leaving the top open.  Do the same with the lining.  Then stick the lining inside the stocking and sew around the top edge.  It was late at night when I did this so I forgot to take pictures after this point but it's pretty self explanatory.   


I chose to add cuffs to the top so I could embroider them one day if I wanted to.  For that part I just sewed a basic rectangle that was long enough to wrap around the top of the stocking. Then I just stitched it to the top of the stocking.  Sorry for the vagueness, as they say a picture is worth a thousand words and I wish I had remembered to take some more.  So here's the finished product.

Did you notice I painted the wall behind the fireplace?  It was burnt orange before and was just bugging me, plus it always clashed with my Christmas decor.  So this year before I got to decorating I painted it the same as the rest of the room.  I'm so glad I did.  You wouldn't think it would make much of a difference but it looks so much better.  Next on my long list of things to do is to prettify the TV and figure out a way to get those electronics off the mantel.


I just hung them with Command hooks since the mantel was already pretty crowded.


The center one is for my daughter.  I just added a clip on fabric flower and stuck the antlers in the top for fun.  They are actually just a headband so I can easily take them out.  


 Do you make your own stockings or have a go to place to get them from?  Can you believe Christmas is less than a week away?!?

Thursday

Pink and Gray baby girl Christmas tree

I've stored away a some pink Christmas decorations I found a few years ago hoping I'd have a little girl one day to use them for.  I can't believe I have a little girl now and I'm using them for her, time sure does fly.  I wanted to do something in her room, something simple and something she couldn't get to.  I decided to use a small gray tree that I used a few years ago in another area of our home.  The urn was a thrifted find from a few years ago too.  The tree was the perfect size and I knew it would fit on top of her cabinet which meant she couldn't get to it to pull it down.


I also purchased this small light up church from Target a few years ago.  I bought a pink one and a blue one so I could use them for our future children either boy (blue) or girl (pink).


I used vintage ornaments that I purchased at thrift store a few years ago.  I think I paid $2 for the whole bag.  I love the look of them, it's hard to tell in the pictures but they have almost a mercury glass look to them because of the way they've aged.


love the way it glows at night


Wednesday

Homemade Caramels

I've always wanted to make homemade caramels, but I've always been too intimidated to try.  Then I got my latest issue of Martha Stewart magazine and there was a recipe for homemade caramels, I took it as a sign to finally give it a try.  I won't blame Martha for the way they turned out as it was probably a combination of things.  They are actually still quite tasty they just didn't get quite as hard as I would have liked.  I think I was a little paranoid about taking them off right when they reached the correct temperature and didn't leave them on the heat quite long enough.  My husband still gave them a thumbs up.  They were really easy to make and I'll definitely be giving it another try.  I've heard Ina Garten's are pretty tasty too, might give those a try on the next go round.   

Here's the recipe from Martha Stewart

Ingredients

  • Vegetable oil, for baking sheet
  • 2 cups heavy cream
  • 2 1/4 cups sugar
  • 6 tablespoons unsalted butter, cut into pieces
  • 1 1/4 cups light corn syrup
  • 1/2 teaspoon coarse salt
  • 1/2 teaspoon pure vanilla extract

Directions

  1. Lightly brush bottom and sides of a 9-by-13-inch rimmed baking sheet with oil. Line with parchment, leaving a 2-inch overhang on long sides; lightly brush parchment with oil.
  2. Bring cream, sugar, butter, and corn syrup to a boil in a large saucepan over high heat, stirring until sugar dissolves. Reduce heat to medium-high; cook, stirring occasionally, until caramel reaches 248 degrees on a candy thermometer, about 15 minutes.
  3. Immediately remove caramel from heat, and stir in salt and vanilla. Pour caramel onto baking sheet, and let stand, uncovered, at room temperature at least 8 hours and up to 1 day.
  4. Lifting by parchment overhang, transfer caramel to a large cutting board. Cut into 3/4-by-1 1/4-inch pieces; wrap each piece in waxed paper or cellophane.

    Have you made homemade caramels?  How did they turn out?  Any tips?  

Tuesday

Easy DIY turkey shirt

I wanted something cute and unique for my daughter to wear on her first Thanksgiving.  I saw lots of cute things on Etsy and other places on the web, but didn't want to spend a lot seeing as how she was pretty much going to just wear it one day.  So I did a little googling to get some ideas for something I could make for her.  My goal was to use what I had and not spend any money, mission accomplished!  I found this great tutorial at the cottage home.  She does a great job explaining her steps and even provides a template for you.  I took a few pictures along the way, but it's pretty self explanatory and you can check our her post for more detailed steps. 

Here's what you'll need:

Supplies:
1 Shirt or Onesie
6 different prints of scraps of fabric
Fusible interfacing (I used wonder under)
Turkey Template (click here to get hers)
Sewing Machine
Iron
Thread

I started with just a plain white onesie that I already had.  Then I scoured through my scrap material and picked some different fabrics that coordinated well and brought in a little brown and orange for some festive flair.  


Like I said, I didn't take a lot of progress pictures (check out her post for more detailed steps), but basically I ironed the fabric to the wonder under and then traced her Turkey template and cut out the pieces.


Then, I peeled off the paper from the back of my pieces and placed them on the onesie.  I played around with the arrangement of the "feathers" until I got them the way I wanted.


Then, I ironed it.  (make sure you put something like a piece of cardboard inside the shirt so you don't iron it together)  I placed a damp cloth over it and then pressed and lifted the iron over each area.  


Then, to dress things up a bit I stitched around the edges of the feathers and the body of the turkey.  It's not perfect but I kind of like it better that way.  Then, I just stitched some eyes, a beak, and legs on it with some heavy weight thread.  I would have probably gone with buttons for the eyes if my daughter were a little older, but right now she's into putting everything in her mouth and I just didn't want to take the chance of it coming off in her mouth.


pair it with a tutu and a jean jacket and you've got a perfect Thanksgiving day outfit!


I also made a boyish version for my nephew, who's 6 months old, but forgot to take a final picture of his, so here's an iphone pic of his before I put the eyes, mouth, and feet on it.