Thursday

The Easiest Way to Hang Curtain Rods

If you follow me on instragram (dwellingsbydevore) you saw that we closed on our new home last week.  Yay!!

  I couldn't be more excited to have the hard part behind us and the fun decorating stuff ahead of us.  Since we are moving into a new build we are in the process of hanging curtain rods in almost every room.  So I thought I'd share a little trick with you on how I hang curtain rods really easily and get them even with no measuring.  It seems like no matter how many times I would measure and try to get it exact it would never come out perfectly and it would drive me crazy.  So my mom and I came up with the idea to make a template.  We used this on all the curtain rods in our old home and I'm doing it again this time around.  It's so much easier!  And if you're like me and don't want to have to wait on another set of hands to get it done, you can easily do this by yourself.  

All you do is just cut a piece of paper, cardboard, whatever you have laying around to the size you need it to be.  Then you just place it by the window like so and make a mark in the top left corner where you want your screw to go.  As you can see it doesn't have to be perfect.  I had to tape some paper together because we are still unpacking and I couldn't find a big enough piece of paper.  


Then on the opposite side you just do the same thing.  For the middle support I just measure to the center and then use the paper to determine how high to put the bracket.  

It makes it go so much more smoothly and so much faster, which is always a plus in my book.  Here is the rod I put in my living room.
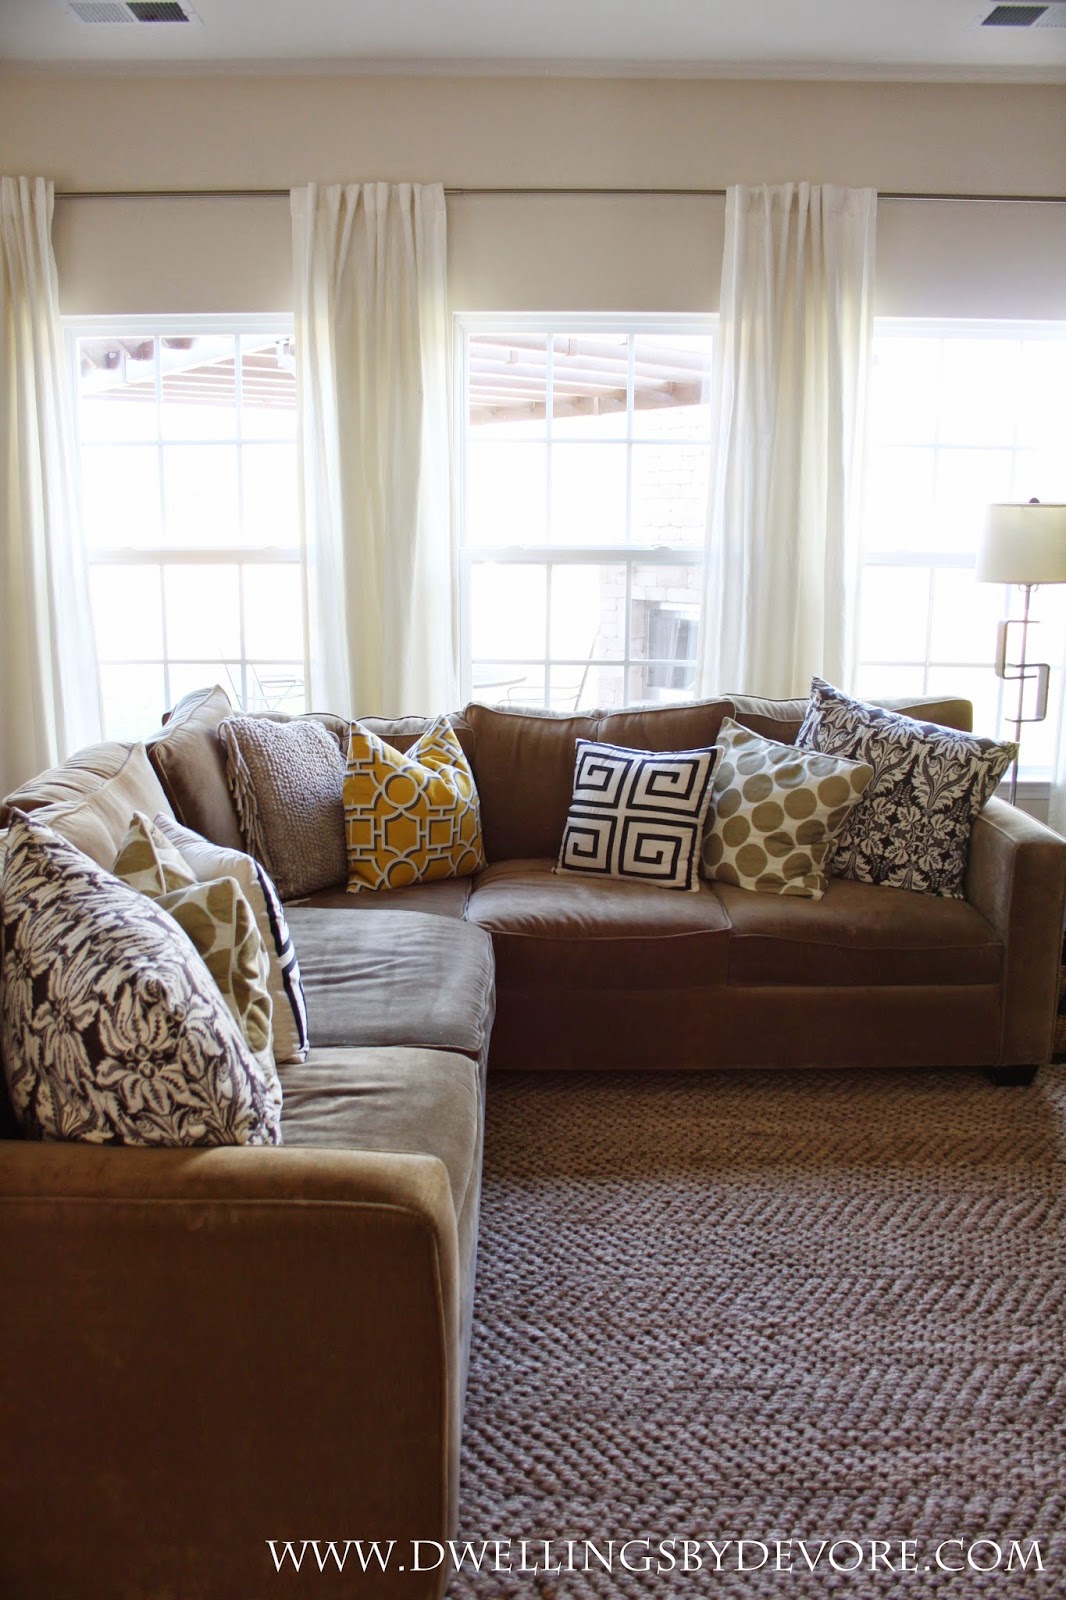

I'm planning to add some bamboo roman shades too, but I just can't find the right color/size combination yet.   I actually used two separate curtain rods on this window to create one long rod.  I didn't want to have to order a special long rod so I grabbed two of these 80"-120" rods at Homegoods for a great price and pieced them together.  It worked perfectly and left me with an extra rod for our guest bedroom.  I was so excited that it all worked out the way it did.  I'm hoping to share a preliminary house tour soon, so stay tuned for that!


Monday

BSHT Favorite Room Edition

I hope you all had a wonderful weekend, we spent majority of the weekend packing and finalizing a few things.  You truly never realize how much stuff you have until it's time to move it all!  I've been busy craigslisting and weeding through stuff to make it a little more manageable.  Thank you for your sweet comments about our move, I can't wait to share more details with you all!

  
Today I'm taking part in a fun series from Lindsay at the White Buffalo Styling Co. You may remember the fall and Christmas home tours from last year.  This year we're kicking it off by sharing our favorite room in our home.  If you are visiting from All Things Thrifty, Welcome!  I'm so glad to have you here!  

It was hard for me to narrow it down and pick my favorite room in our home, but I settled on our dining room.  It's the one room in our house that most reflects my current style.  My style has stayed mostly the same over the last several years, but it's always evolving.  That's one reason I'm so excited to be moving.  It's a blank palette and a chance to start fresh and incorporate new ideas.  

Our dining room is a mix of earthy elements, lots of texture, and a little bit of glam.


I recently moved our chairs from our breakfast nook into this room and I'm loving the new look.  It really opens up the room and adds a nice metallic element.  It's hard to tell from the picture, but the railheads on the table our chrome so it ties that in too.


This light (affiliate link) is one of my favorite parts of this whole room.  We are actually taking it with us when we move because we love it so much!


I recently moved our fiddle leaf down to this room too and it's doing surprisingly well.  I don't have the greenest thumb, but it does pretty well if it gets enough sunlight and a good watering every few weeks.  


The entryway is connected to this room so I thought I'd share a few pictures of it too.


If you're interested, you can find more info about these spaces here.

If you want to follow along with the rest of this series be sure to hop on over to Not Just a Housewife and check out her beautiful home!

Tuesday

Thrifted Light turned Urn Planter

I've been on the hunt for a pretty champagne urn to use for my kitchen utensils for a while now.  But I can't seem to find one that fits my thrifty budget.  However I got to thinking about this lamp that I've had in my garage for a while now.  It used to be in our breakfast nook but I took it out when we were staging to sell our house.  I thought it could work with a little tweaking.


I started by removing the bulb and then twisting the top portion of the light socket off of the base of the lamp.  


Then I removed the top portion and was left with what you see below.  All you do from here is unscrew those little screws that are holding the wire in place and unthread the cord through the base of the lamp.  Another bonus to this project is that you now have an extra lamp kit to use in the future.  I actually used to buy thrifted lamps when I would want to make a light fixture because it was way cheaper than buying the lamp kit at the hardware store.


Then I just took the pieces of the lamp apart until I was left with the shape I wanted.  I basically just removed the top two pieces to leave me with an urn shape and an open top.  When it comes to putting it back together you will just need a threaded rod to hold it all in place.  More than likely you'll need one that's about a third as tall as the original one.  I happened to have on in my garage from a previous lighting project, but if you didn't you can find them at Lowe's in the lighting department.  

On the right is the original one and the left is one similar to what I ended up using.  It was actually still a little too tall, so I found a smaller one in my garage.  You get the idea.  


Once it was all put back together I sprayed the whole thing gold (Rustoleum Gold Metallic) and then gave it a clear coat for extra durability.  I've noticed that when I use the clear coat over the Rustoleum gold it makes the finish a little less bright and a little more brassy which I kind of like. 

Sadly, when I tried putting my utensils in it the scale was all wrong and it just wasn't working for me.  Thankfully I picked up a basil plant at Trader Joe's during my grocery trip and it works great as a planter!  When the basil dies (as it inevitably will), I think I'll fill it with a few different succulents for a different look. 


So, the hunt continues for a champagne urn, but I now have a fun new planter!  The great part about this is that the lamp was only around $2.99 so it was a really inexpensive project.  I've seen these lamps randomly during my thrifting trips too so it's likely you'll come across one if you want to try this for yourself!


Cozy Coupe Makeover

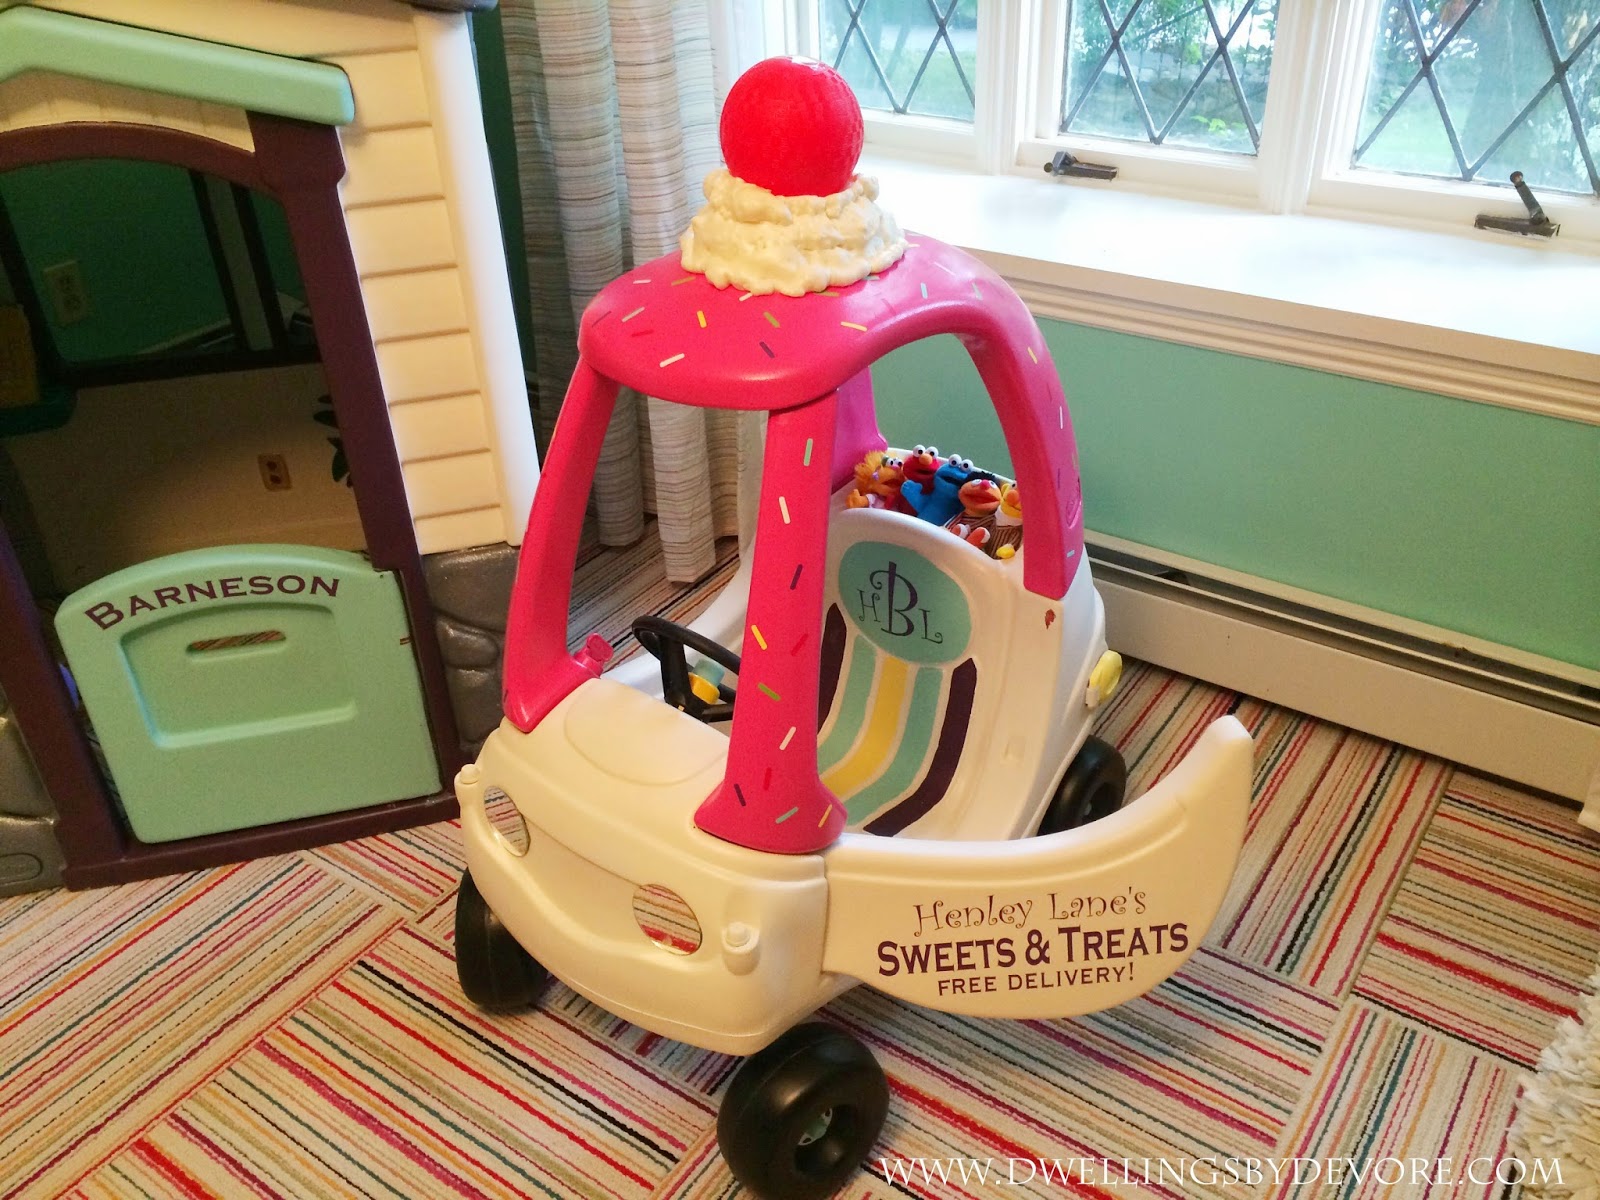
 Just popping in for a quick post today.  I love it when readers are inspired by my projects, after all that is the purpose of this blog!  I was so excited when I got an email last week with a picture of this adorable car and playhouse inspired by my daughter's cupcake cozy coupe makeover.

Here's how hers turned out.


Isn't it the cutest?  I love how she painted the house to match and the monogram on the car is such a sweet little detail!

Thursday

Upholstered Faux Fur Bench

Slowly but surely we are making progress on my mom's bedroom makeover.  We have one gallery wall to finish up and then it will be ready!  I just finished up this small project for her the other day and thought I'd share it with you.  I'm always smitten with projects that involve white fur.  It feels so glamorous to me.  This was simple and easy and I'm loving the new look!

Here's the before.  It had some different fabric on it originally.  This is after my mom gave it a go with some leftover fabric she had.  It didn't quite cover the whole thing so she tried piecing it together, but the seam was a little too obvious. :)


Since the top portion is so deep I chose to cover it the same way I did my faux leather ottoman.  I took off the legs and laid the fabric wrong side out over the top.  Then I pinched the corners together and used my sewing machine to sew a seam straight down where each corner would be.

Once that part was finished, I just flipped it right side out and slipped it over like a slipcover.  Then I stapled everything underneath.


The legs felt a little boring and slightly dated so I gave them a fresh coat of gold spray paint to liven things up.  I used my go to gold spray paint (Rustoleum Gold Metallic) and it made such a big difference.  The legs felt so dark and dated before.


We were originally going to use a faux sheepskin rug from IKEA to cover it, but it ended up not being large enough.  So I ordered the fabric from Fabric.com.  It feels much softer than the IKEA rug and was pretty easy to work with, besides the fact that it shed.  A lot.


Overall, I think it looks so much better!  She originally paid $10 for the bench and then we spent a little over $20 for the fabric. (I had the paint already)  So the total cost was only around $30.  Not bad for a fancy little spot to prop your feet up! 

Monday

Botanical Print Gallery Wall

I just got back from Haven and had such a great time.  I wasn't really sure what to expect since this was my first year going, but I was really happy with how everything went.  I learned so many things that I can apply to make this blog better.  It was overall a great experience!  

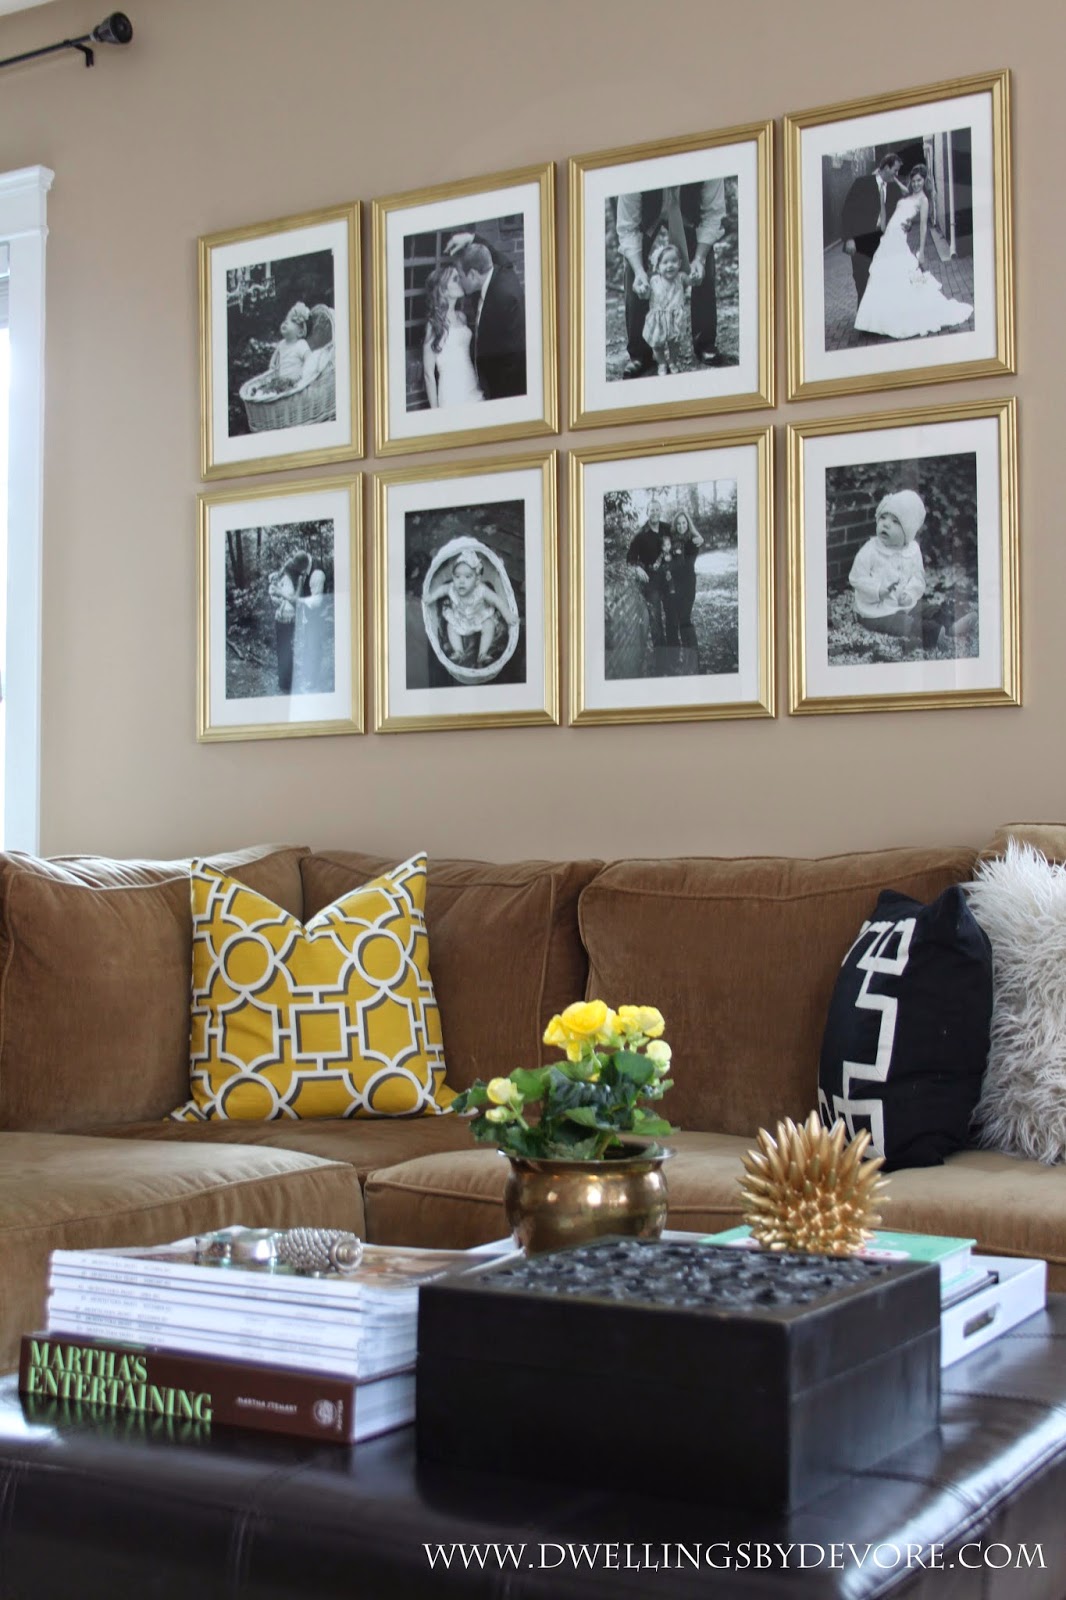
Now that I'm back, I'm doing a few things to change up our house to make it more appealing to buyers.  (our house is still on the market)  We received a comment in the feedback from an agent stating that we needed to depersonalize things.  I figured that comment would pop up eventually since we have a decent amount of family pictures on our walls.  I started with the gallery wall in our living room since it was an easy switch.


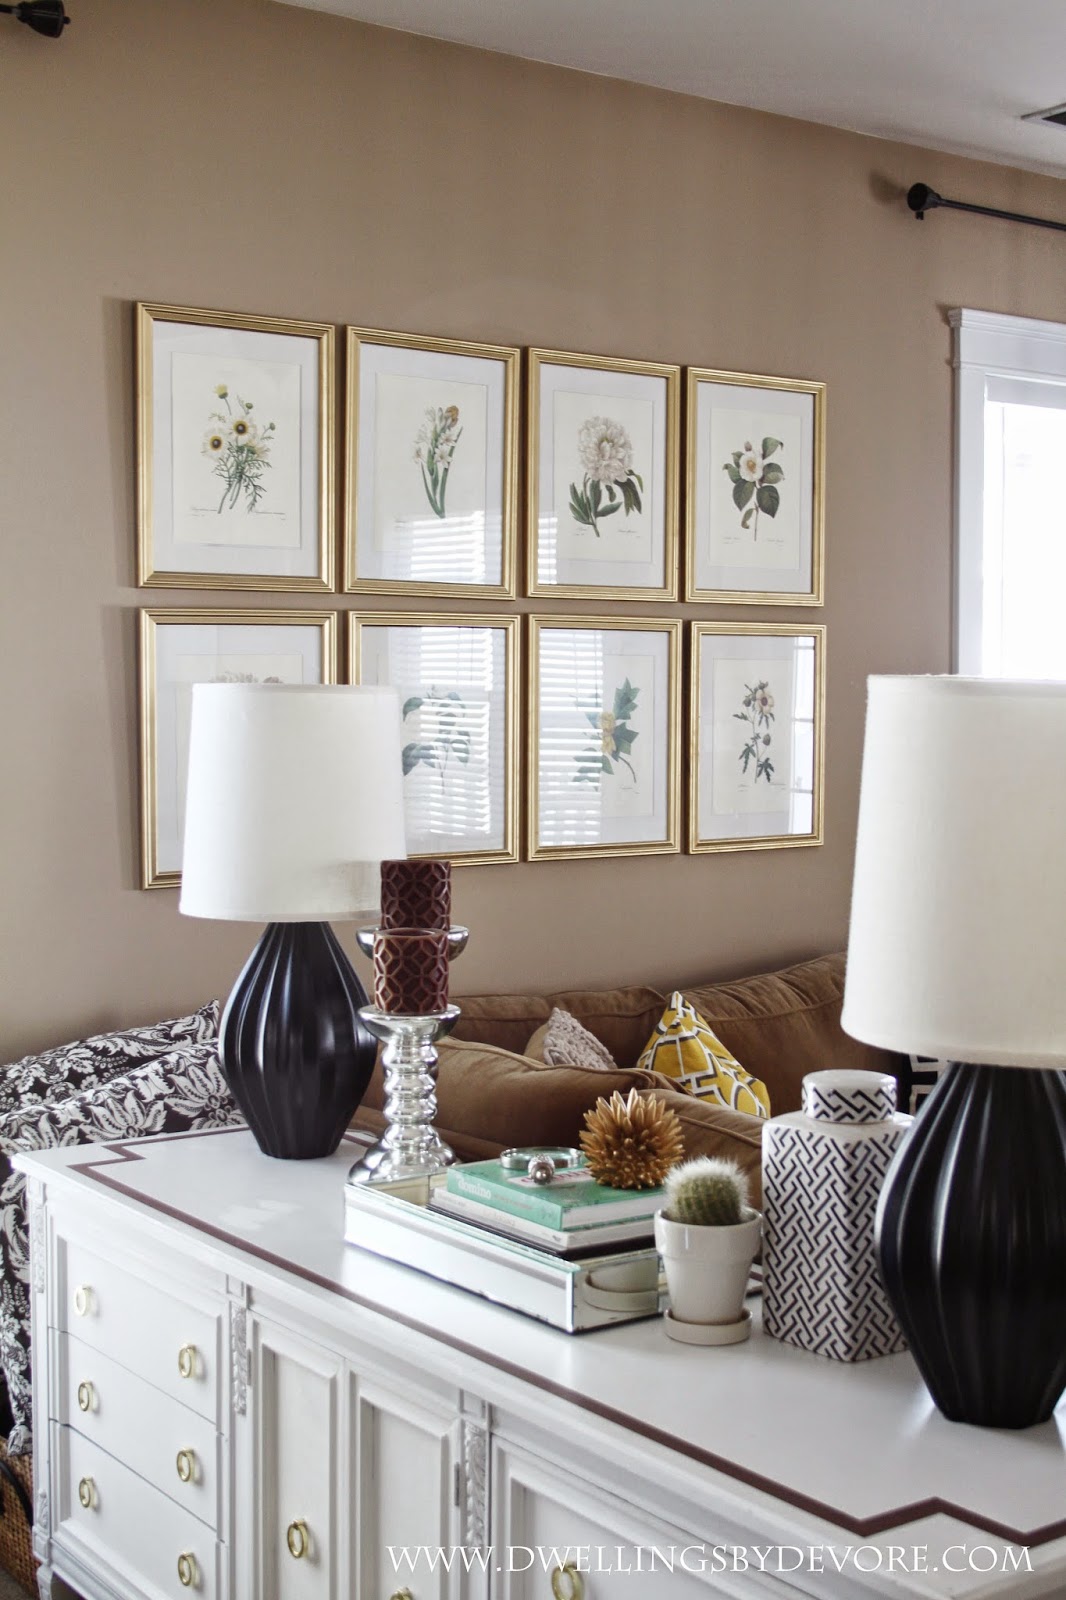
I've always loved botanical prints and I had a great botanical book in my stash so this update was free and easy!  I actually came across the book at a thrift store for a few dollars, but if you don't happen to have one on hand you can easily find prints online.  A lot of sites, like Vintage Printable, have a huge selection for free.  I talked about some great, free, black botanical prints here too.


I was pleasantly surprised at how much brighter it made the room feel, which is always a nice bonus when you are trying to sell your house.


I have another wall I'm working on to share soon!

Thursday

Striped Bathroom Makeover

I have had this room semi finished for a while now, but just haven't had a chance to snap some pictures of it.  Not to mention bathrooms are my least favorite room to photograph.  The lighting and angles are just so tricky.  I felt a bit like spiderman trying to cling on to the sides of the shower to get the best angle possible.  So with that said, pardon the less than optimal pictures. :)  

This is my mom's guest bathroom.  It's the bathroom that most people, use so of course she wanted it to be decorated nicely.  She had seen the stripes in my house and wanted to do something similar.  She already had some gray "oops" paint and we thought that would work well since it's pretty neutral. 

I taped off all the stripes which usually is the worst part about painting stripes.  After that it's pretty simple.


I like to paint over the tape with the same color as the base color on the wall.  In this case white.  It helps to seal the edges of the tape and prevent bleeding.

We still have a few things we want to do in this bathroom, but I thought I'd share our progress.  I'd love to do something different with the vanity.  It's a basic builder's grade vanity and although there's nothing wrong with it, the color isn't blending super well with the current design.  I'd also like to add some sort of molding to the edges of the mirror.  


I love these shadowbox frames from IKEA.  I just added a few shells to create simple artwork.


Hopefully I'll have some more updates to share soon!