Friday

Lindsay Letters Canvas

A few weeks ago I won a Lindsay Letters canvas from The Makerista.  It's exciting to win anything, but especially something you really love!  The black and white stripes paired with the gold frame and writing are right up my alley.  As soon as Gwen told me I won, I started dreaming up places to put it.  It ended up in our dining room hanging above this cart where I store some of our glasses and dishes.  I found the cart at Goodwill several months ago and have been trying to decide whether I want to paint it or what I want to do with it.  I think it would make a cool plan cart if I could keep them alive! 


see why I was excited?  I was also really impressed with how well it was packaged and the quality of the frame.  If you want one of your own you can find them here.  Lindsay has tons of other great stuff too.  Here's a few more of my favorites that I may just have to put on my birthday list! :)

This mug.  I've come close to buying it so many times.  I need to just bite the bullet and get one.  


This shirt.  Perfect for lounging or going out.  My loungewear could use an update these days.


And her prints are amazing.  This print is one of my favs.  I love the rose gold.


If you haven't checked out her site before you'll love it!

Wednesday

Jute Wrapped Lamp

My sister mentioned to me the other day that she would like to revamp some things in her home, so we've started making a list of things to slowly chip away at.  One of the things I thought would benefit from a facelift is her living room lamps.  She bought them at Pier 1 years ago.  They were originally a different finish, but she painted them white to try to brighten them up.  But I knew they could be better.  So she dropped them off and let me get to work on them.

Here's how they started.

All I did was grab some Jute from Hobby Lobby.  The whole roll ended up being around $12 with the 40% off coupon and I have tons leftover.


Then I just wrapped the lamp and added dabs of hot glue here and there as I went to secure everything.


I love jute because it really adds a lot of great texture.  This was a simple project that didn't take long at all to complete and I think it made a pretty big difference in how they look.


 Her home and taste are a little more rustic than mine so I think they'll be a perfect fit in her living room.  I'm constantly running across thrift store lamps with a great shape, but not the right finish.  This would be a great application for those too!  

Monday

Budget Friendly Minnie Mouse Party

This weekend our little girl turned two.  It was a whirlwind of excitement, exhaustion, and partying hard (not really).  We kept things small this year and celebrated with just our immediate family.  I planned to keep things really simple because we did a big shebang last year, but once I get started on something it's hard for me to stop myself.  The good thing is that I kept this party really budget friendly.  I always feel bad spending money on things I'll probably never use again so I pretty much just used stuff that we already had.  I also used my Silhouette machine a ton.  I really love that thing and have more than gotten my money's worth out of it.  I'm not being paid to say that either, I'm pretty sure they don't even know I exist :) 

On to the pictures.


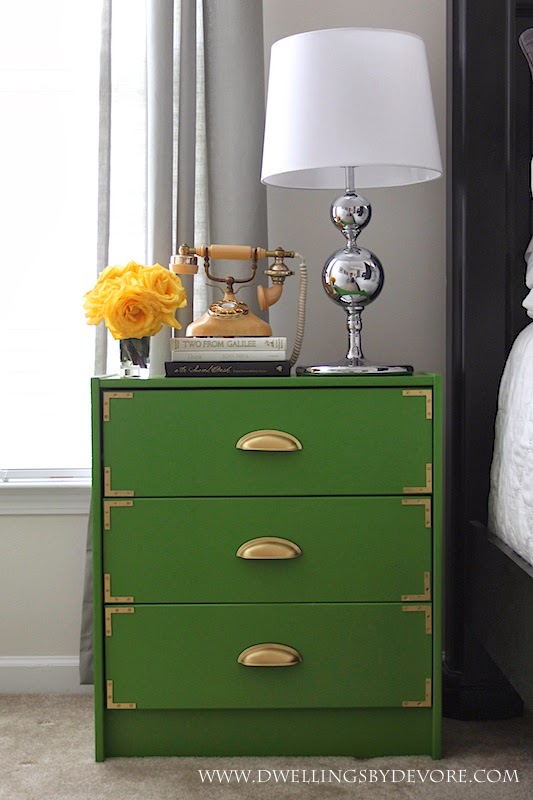
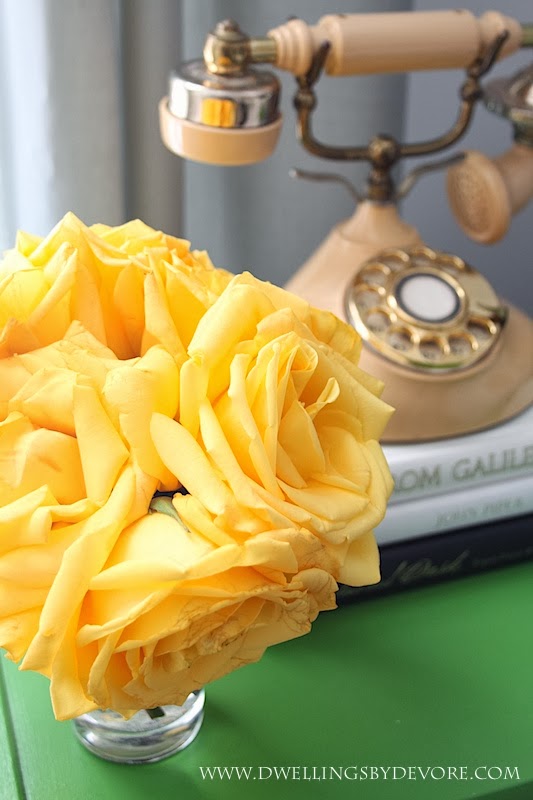
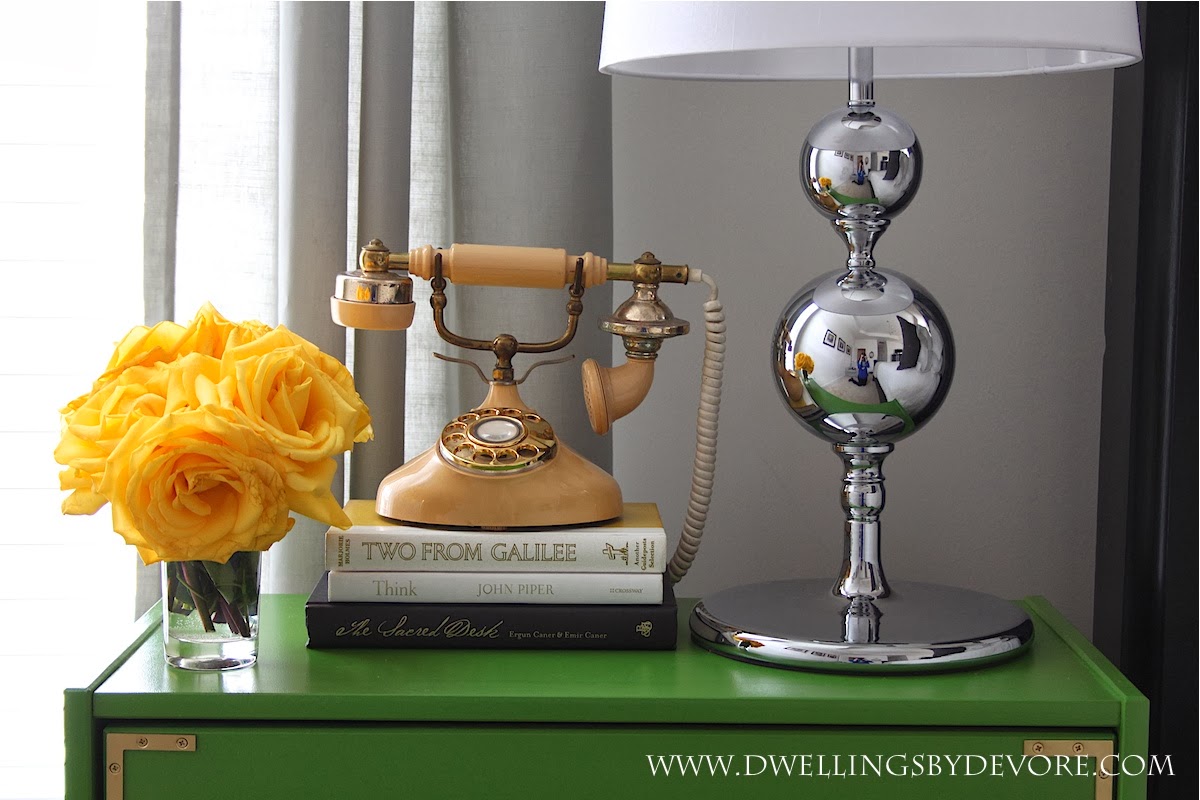
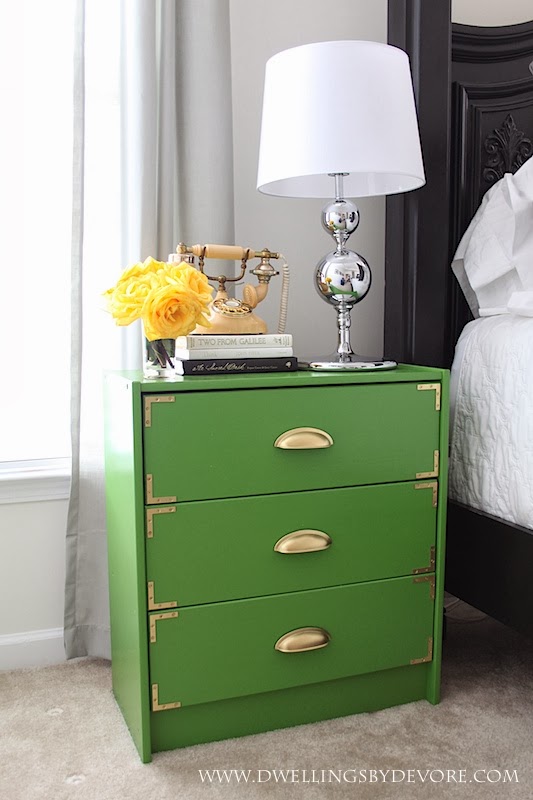
We started a tradition last year of getting my daughter flowers on her birthday every year.  Nothing really fancy or expensive.  These were $5.99 at Trader Joe's, but I loved the color combo.  I hope we can keep it going for many years to come!  There's something about fresh flowers that makes you feel extra special!


I cut all the banners using my Silhouette machine and some card stock.


I ordered this giant gold 2 balloon on ebay for a few dollars and had it filled up with helium at a local grocery store for a few more dollars.  I did have to rig up the ribbon on the bottom, as you can see, to make it stay the right way.


I cut off about the top 1/3 of a party hat and glued it to some felt.  Then I glued that to a plain headband and added a simple bow.  I cut circles out of black foam and glued them to the sides for the ears.  It turned out to be the perfect party hat for our birthday girl.  It didn't stay on for most of the party, just I suspected, but we did keep it on long enough for a few pictures.


I googled "silhouettes of Minnie and Mickey mouse" and found a few images that I liked.  I imported them into my silhouette software and cut them out.  You could always just print them out, but I didn't want to waste all that black ink.


I used my silhouette again to cut the minnie head and bow used on the white bags.  We filled them with chips so everyone would have their own bag.  We also had fruit cups and "hot diggity dogs" as they say on Mickey Mouse Clubhouse.


Additional Sources:
Red/white streamers: Hobby Lobby
Red paper fans: Target after Christmas sale
Black Paper Fans: Hobby Lobby
Black Dot Wrapping Paper: Homegoods
Polka Dot Plates, Party Hats, and Napkins : Mighty Dollar
 dress: Zulily
Gold Number 2 Balloon: Ebay (just FYI, it's enormous!)

I think that about covers it, but if you have any questions feel free to ask them in the comments section.

Friday

Valentine's Day Gelatin Hearts

Happy Valentine's day!  I'm sharing a quick, easy, and healthy recipe for you to enjoy today.  Valentine's day is a day we typically indulge in chocolate and other sugary goodies so I wanted to make something for our family that was a little better for you, but still had the Valentine's vibe going for it.  These are gluten free, refined sugar free, and dairy free so they're great if you have any special allergies to cater to.  

So here we go.  Buy a box of Knox gelatin and flip it over.  There's a super simple recipe for knox blox.


I used 100% pomegranate fruit juice with no added sugars, colors, or flavors to make this as healthy as possible.  Then I found this fun little mold that my mom gave me a while back.  I think she got it at IKEA.  


I followed the directions on the back of the box and then poured the mixture into my heart mold.  I greased them lightly with some coconut oil just to make sure.  I left them in the fridge for a while to set and then I popped them right out.  I was left with the cutest little gelatin hearts!


I originally made them with my little one in mind, but she's still not sure what to think of them.  Maybe it's a texture thing?


If you have older children, I think these would be fun to make together.  They would be great for class parties too!

If you are looking for another fun heart shaped idea, check out these adorable heart ice cubes!

Wednesday

Super Simple Valentine's Decor

We don't normally go all out for Valentine's day.  We usually enjoy going out to a nice dinner and just being together and I normally don't do any decorating for it either.  It comes so quickly after Christmas and it seems like it's here and gone before I even have a chance to throw together a few decorations.  But this year I wanted to do something fun and really simple to bring in some Valentine's day cheer.  I also like to seize any opportunity to add a little pink to my home. :)  

This was a free to me project because I had all the supplies, but even if you had to buy the paint it would only end up being around $1.  So start with a paint brush and some acrylic craft paint.  Ironically enough the name of this pink is "valentine's day."  I took that as a sign that this project was meant to be.


Then, find a mirror or other slick, wipeable surface and paint a giant heart on it.  I told you it was simple.  It should come off really easily after Valentine's day is over with a little windex and a paper towel.  A razor blade would work for scraping it off too.  


I really like the idea of using a mirror as a blank canvas for special occasions or parties.  You can easily find paint pens in a variety of colors at the craft store to use for more intricate designs.  I think it would be fun to write special birthday messages on it for children or even a huge number for the age a child is turning.


If you follow me on instagram you already saw my husband's attempt at decorating.  He threw together this driftwood/disco ball "sculpture" and declared it a work of art.  It's actually the perfect place for it because the sun hits it just right in the mornings and the whole room is filled with sparkles.


Do you guys do anything special for Valentine's day?  

Monday

Green Campaign Inspired IKEA Rast Hack

*I was supplied Kilz Primer for this makeover.  All opinions are mine.

We had a few warm days last week and I was so thankful to be able to take advantage of the pretty weather and finish up the IKEA rast night stands I've been working on for my mom's bedroom makeover.  I don't know how you guys have been doing it with all the snow and freezing temperatures!  I'm so glad that spring will be here before too long!  I originally wanted to do a bamboo inspired Rast hack, but I thought it might be easier to go with a campaign inspired hack.  I've filed that idea away for the future though and hopefully will be able to tackle it one of these days.  This was a really simple makeover.  


I started by priming the nightstands with Kilz spray primer.  Since the wood was unfinished it really soaked up the primer.  I used two coats to ensure even coverage.  If you are using this primer (or any primer really) you want to make sure to shake the can really well to prevent that sandpaper like finish.  If you do get a few bumps, just sand everything lightly after it dries and you're good to go.  I also filled in the original holes for the knobs with some wood filler since I planned on using just one pull in the middle.  Once the wood filler was dry I sanded it down until everything was nice and smooth.  I actually did it twice just to make sure.

  
Then, I used a foam roller to cover all the large flat areas and a brush for the nooks and crannies.  The color is Valspar lovely green as mentioned above.  The finish on the cup pulls ended up being a little darker than I anticipated and didn't really match the corner brackets like I had hoped, so I sprayed everything with Krylon gold leaf spray paint.  


My mom wanted an old fashioned phone like her mom had when they were growing up.  She found this one at an antique store and it even works!


The green was a bold color choice, but it matches the fabric we chose for some accent pillows perfectly.  It also really adds a nice punch of color in there.  The rest of her bedroom set is black so the green breaks everything up nicely.  We are almost done with the room, just need to finish a bolster pillow I'm working on.  In case you were wondering, sewing a bolster pillow with trim and a zipper is no fun.  I'm hoping I can get it finished this week!